

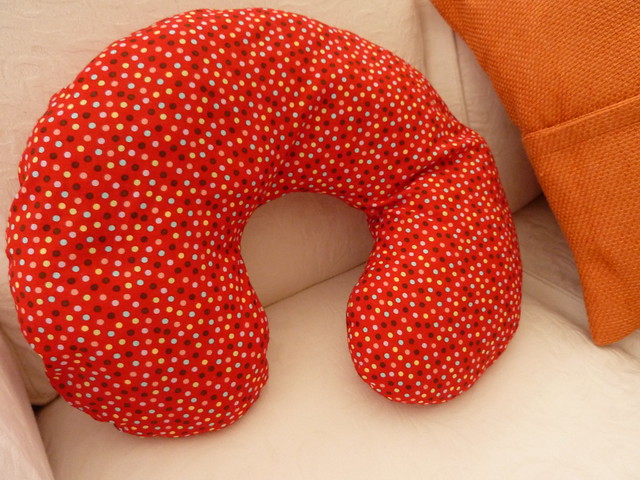
LEFT: Doll for my Niece, and RIGHT: Neck Pillow for my Grandma
Further to my last post, I managed to squeeze in some more Christmas gift making last week.
Using a second-hand sewing machine I'd purchased back in summer on eBay (which is now permanently housed at my non-sewing Mother-in-Law's house) I was able to knock-up a quick Neck Pillow for my lovely 98 year old Grandma.
The pattern is FREE from BurdaStyle.com: Neck Pillow 12/2010 #143


It took me around 40mins to make (I omitted to add the piping - saving much time) including time to stuff with the innards of an el-cheapo *pillow I'd bought a few years ago at Tesco (*originally destined to be the stuffing in a Duct-Tape-Dummy which I never got around to making haha!).
I also found time to finish-off the Dolly, plus sew a cute dress + knickers for said doll for my 2½ year old Niece (I've been a v. bad Auntie as Dolly had been sitting in a bag sans coiffure since I first started the project as a 1st birthday pressie - eekk, better late than never I guess!).
.jpg) |
| Wee Wonderfuls - the Kit, Chloe & Louise Pattern |
The pattern I used for the dolls is by Wee Wonderfuls - called the Kit, Chloe & Louise Pattern. The PDF includes full details to make the dolls, clothing and hair.
I bought the wool for the dolls hair back in July 2012 from Ridley Road Market. And, because I was pressed for time and I couldn't for the life of me find the original PDF instructions... I used these great tutorials I found to make the "hair" for the dolly: Waldorf Doll Hair Tutorial and Waldorf doll hair: centre back seam clarified by Meike of Crafty Sheep blog.
To make the dress I drafted a pattern using paper wrapped/draped around the doll - following the approximate pattern-shapes found in The Itty Bitty Baby Dress Pattern by Made-by-Rae. And, now I have the pattern pieces I can make more dresses easily in the future! The dress is fully-lined, plus I made dolly some jersey-knickers too (so she's properly attired LOL!).
For the doll's face I embroidered the eyebrows in black thread, and the mouth in red. I used some Dylon pens to create the eyes (pressing them on a hot setting to fix-them).
To view more photos of the doll's construction see this Flickr slide-show below :) :
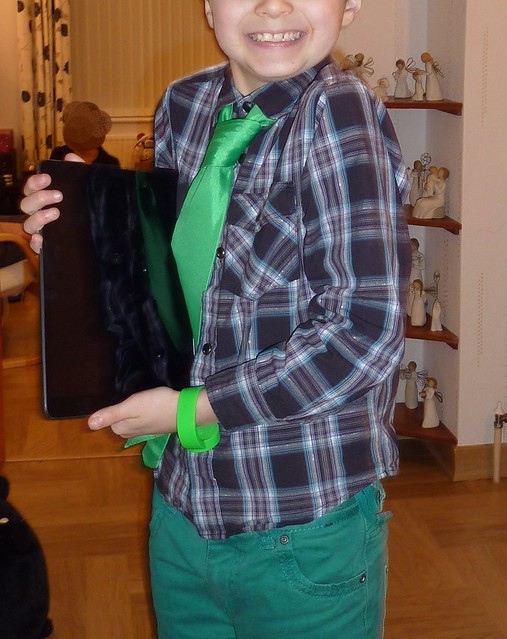
And Mum-in-Law and Dad-in-Law loved their Tablet-Pillows too.


.jpg)


.JPG)


.jpg)


The doll is adorable! Now I want one for myself and I am a grown up, hehe! The face looks so delicate! The Tablet-Pillows are also a great idea - I didn't know that something like that exists! Have a Happy New Year, Claire!
ReplyDeleteI totally agree with Daniela. I want a doll like that one too! It's adorable. I guess I will never grow up in a way...The fabric you chose for the neck pillow is really cute. Happy new year!
ReplyDelete